1. Fix the layout first
Any change to walls or doors after work starts means demolition and rework. Review the plan room by room, including door swings and the position of every main piece of furniture, before anything begins.
2. Plan lighting with the ceiling, not after it
Concealed lighting, spots and chandeliers need wiring inside the gypsum. Fix their positions and the switches together with the ceiling design, not after it is closed.
3. Air conditioning and sockets are part of the design
AC outlets, sockets, TV and data points decide where furniture can go. Put them on the plan with the furniture so you do not end up with a socket behind a wardrobe.
4. Approve materials with samples
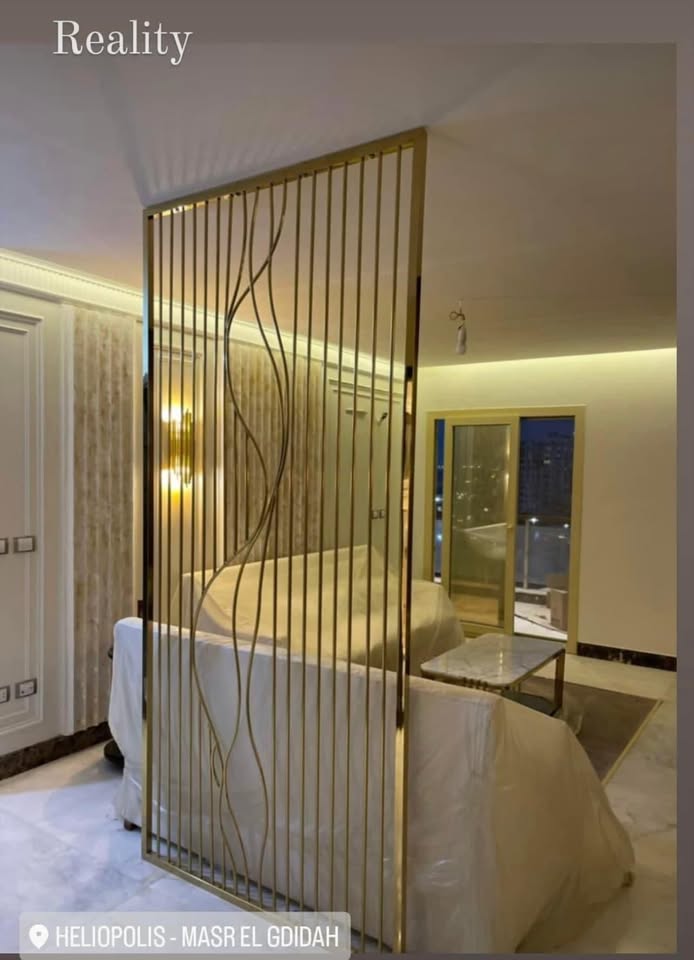
Marble, parquet, paint and wallpaper look different in a photo and in reality. Ask for samples, look at them in the room and under its lighting, and sign them off.
5. Ask for shop drawings
Shop drawings are what the contractor is held to. The clearer they are, the fewer disputes: ceiling, cladding and joinery dimensions and the position of every item.
6. A clear contract with scope and programme
Ask for a written quote itemising scope, quantities, materials and programme, state what is excluded, and agree how any addition is approved during the work.
7. Think about furniture from day one
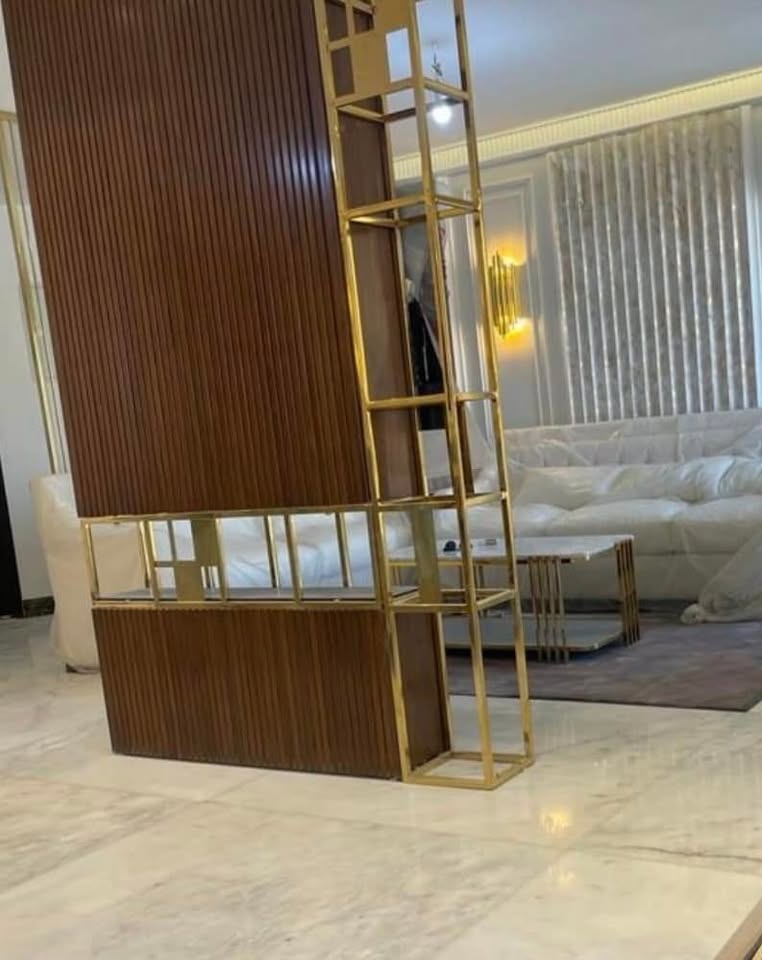
Fit-out and furniture should speak one language: the same wood in joinery and furniture, the same colour palette. Planning them together saves time and gives a coherent home.
Quick checklist
- Final plan approved with doors and furniture.
- Lighting, switches, AC and sockets on the plan.
- Material samples signed off.
- Shop drawings for every item.
- A written, itemised quote with a programme.